Manage work
Create, find and update tickets
Suparko calls a task or ticket an issue. Keep the request, supporting files and progress in that issue so the next person can understand the work without searching several conversations.
Before you begin
- Access to the project and team where the issue belongs.
- A short title and the context needed to act on the request.
- Edit permission if you want to create or change tickets.
What you’ll learn
- Create a clear ticket with the right owner and workflow.
- Find the right work using filters and views.
- Select several issues and use their action menus.
In this guide
1. Create an issue with enough context
Open the relevant team’s Issues in its project context, then choose New issue or the create action. Write a title that names the problem or result, followed by a description that explains why it matters and what should happen.
Choose its home
Check the team and project before saving. Project pickers show compatible, accessible choices; do not place a ticket in an unrelated project just to make it appear on a board.
Set ownership and urgency
Choose an assignee when you know who is responsible. Set priority separately from status: priority describes urgency, while status describes the stage of work.
Add details and evidence
Include steps to reproduce a problem, the expected outcome and relevant attachments. Review the title and description, then create the issue.
| Property | Use it for |
|---|---|
| Status | Where work is in this team’s workflow |
| Priority | No priority, Urgent, High, Medium or Low |
| Assignee | The person responsible for moving the work forward |
| Labels | Useful topic or type labels for grouping and filtering |
| Project | The outcome this ticket contributes to |
2. Keep the ticket’s progress together
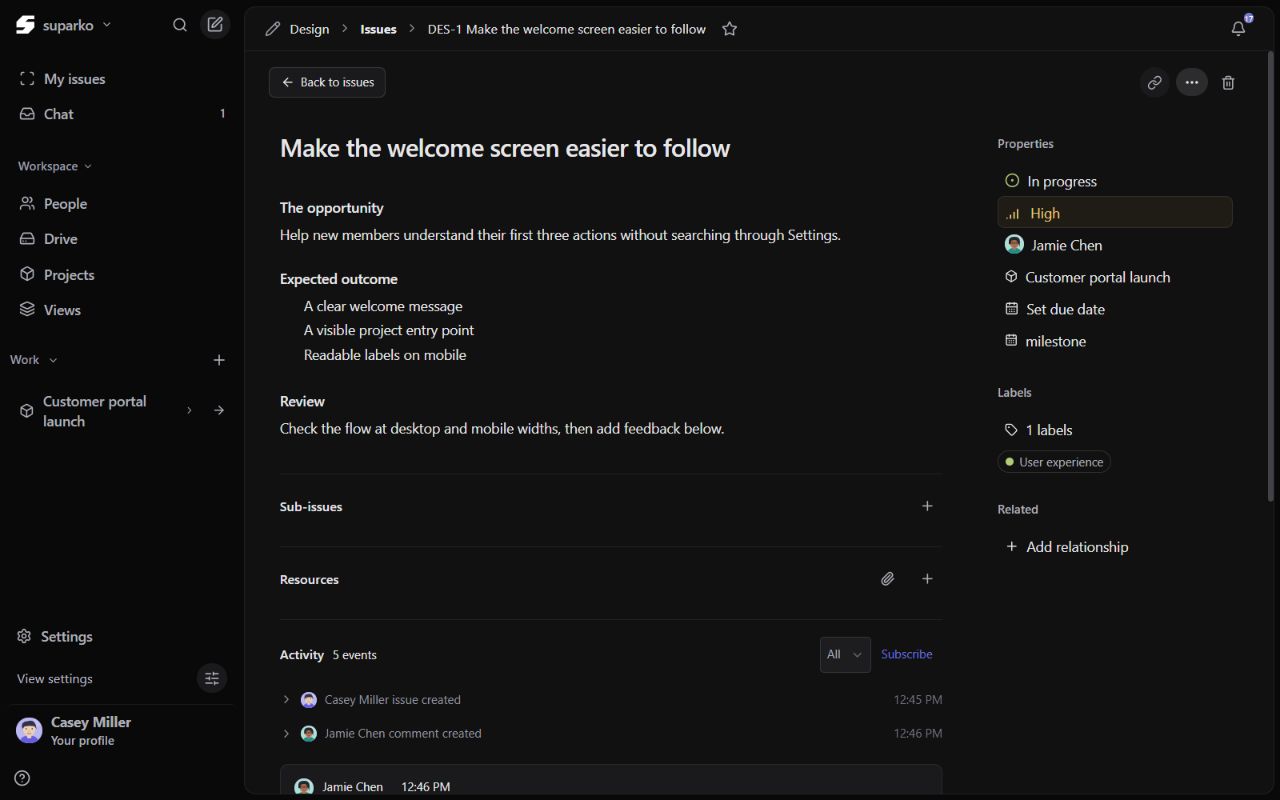
Open an issue to read its description and activity. Use a comment for decisions, progress or questions. Attach images or videos when visual evidence helps; supported media can be previewed instead of appearing only as a filename.
Change a property using its picker. The priority menu shows the current choice, status choices follow the issue’s team workflow, and assignee choices depend on the available members. If you only have read access, request the change from an editor.
3. Find the right work with filters and views
My issues opens all accessible tickets across the selected workspace’s projects, grouped by project. Use Assigned to me, Created by me or Subscribed when you want a personal subset. Creating from My issues lets you choose a project first, then one of its linked teams.
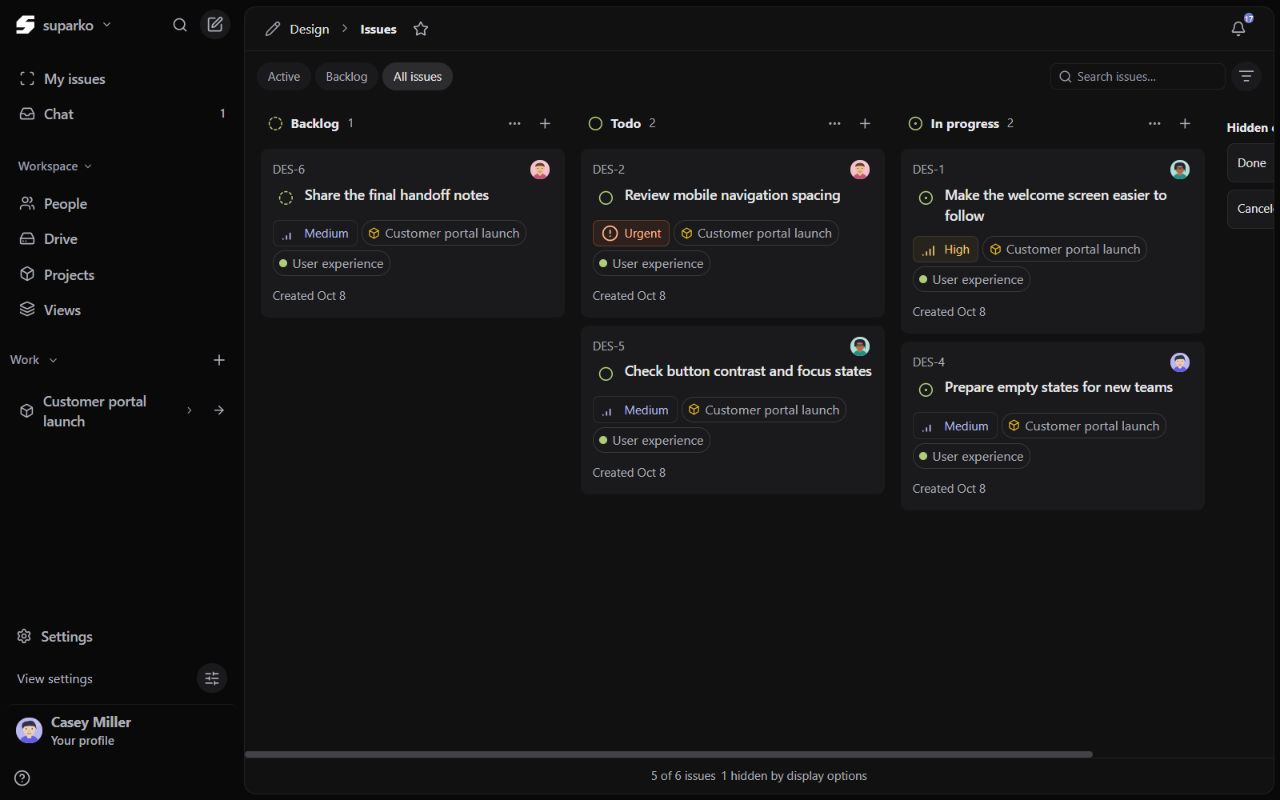
Use filters to choose which issues are included, such as status, assignee, priority or label. Use View settings to choose how those results appear. These are different controls: a hidden column or a collapsed group does not mean its tickets have been deleted.
Switch between Board for workflow progress and List for a compact scan. Group by the property that helps your work and choose an ordering. If a view looks empty, check its filters and hidden groups before creating a duplicate ticket.
Narrow the records
Apply a filter, then inspect the matching issues. Clear the filter when you need the full accessible team view.
Choose the presentation
Open View settings at the bottom of the sidebar to choose list or board, grouping, ordering and visible properties.
Save useful views
When the interface offers Save view, give a repeatable filter and display setup a clear name, such as My high-priority work.
4. Use multiple selection and issue actions
Hold Ctrl on Windows or Command on macOS while clicking issues to add or remove individual selections. Use Shift to select a range in the current visible order. Changing filters or hidden groups changes which rows are available for that range.
- Use the selection bar to apply a supported property change to the selected issues.
- Right-click an issue to open its action menu. If it is already selected, the menu can act on the selection.
- For a single ticket, Move to Trash is also available from its action menu. Deleted tickets retain their comments and attachments. Open Trash in the sidebar and choose Restore to return a ticket to its original project and team; your current edit permissions still apply.
- Use Shift + F10 or the keyboard’s context-menu key to open issue actions from a focused issue.
- A status change for several issues requires a compatible team workflow. Mixed-team selections can disable that action.
- Press Escape to clear the selection.