Account & access
Set up your profile and preferences
Your profile tells coworkers who you are and how to work with you. Personal preferences affect your experience, while workspace and team settings are managed by the people with the right permissions.
Before you begin
- Your own signed-in account.
- A profile picture if you prefer an upload to a built-in avatar.
- The correct timezone configured on your device.
What you’ll learn
- Update your profile without changing your role.
- Understand local times and presence.
- Find the correct settings area.
In this guide
1. Edit your own profile
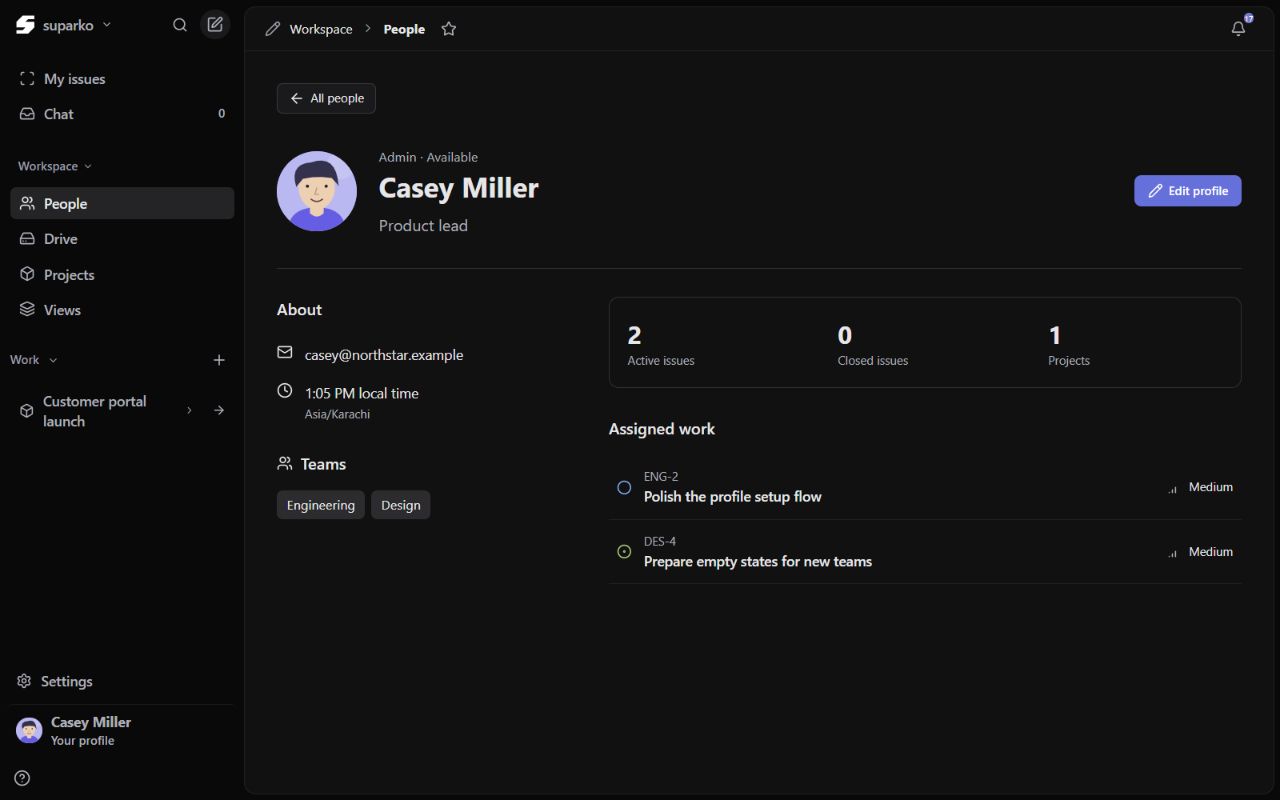
Open Your profile at the bottom of the sidebar, or find yourself in People. Use the edit action for your profile. Other people’s profiles let you understand their role, local time and work; they are not an invitation to edit someone else’s account.
Choose a picture
Upload a supported profile picture or select a built-in avatar. Review the preview before saving. You can choose initials instead of a picture.
Write your display details
Set the display name your coworkers will recognize, add a job title, and write a short About you description.
Check your status
Your status follows your recent activity in the workspace. Choose Away when you want to appear away; it overrides the automatic status until you change it back. Save the profile.
2. Understand your timezone
Suparko detects your personal timezone from your browser and device during sign-in and account setup. Your profile shows that timezone, and the platform uses it when formatting supported dates and local times.
If you are travelling or the displayed timezone is wrong, check the device’s time settings and sign in again. You do not need an administrator to manually enter a timezone for every new user. A workspace can also have a general timezone; that is separate from each member’s personal timezone.
3. Open the right settings area
Settings at the bottom of the sidebar opens workspace and personal settings. The team’s three-dot menu opens that specific team’s settings. A team can have its own labels, statuses, templates and workflow setup where your role allows you to manage them.
- A disabled control can mean your role is allowed to read the setting but not change it.
- Review which workspace and team you are in before editing configuration.
- Use a color selector when adding a supported label or status, and write a description that explains its purpose.
| Area | What to expect |
|---|---|
| Your profile | Your picture, display details, biography and status |
| Notifications | Your supported notification preferences |
| General workspace settings | Workspace information and general timezone; editing is role dependent |
| Team settings | The selected team’s labels, statuses and workflow setup |
| Private API & MCP | Connections and credentials for the selected workspace |
4. Keep account details and access safe
Your display name and your sign-in email are different account details. If your sign-in email needs to change, ask the platform administrator to update it through the supported account control. An email change can require you to sign in again and reconnect integrations.
Use your own account, keep passwords and API keys private, and disconnect an integration you no longer use. If you need a password reset, request a new one-time reset link from your administrator.